Update & First Friday Links!

Whew! That was busy!

Seriously the month of September was a damn whirlwind! I went more places in one month than I think I did all year!

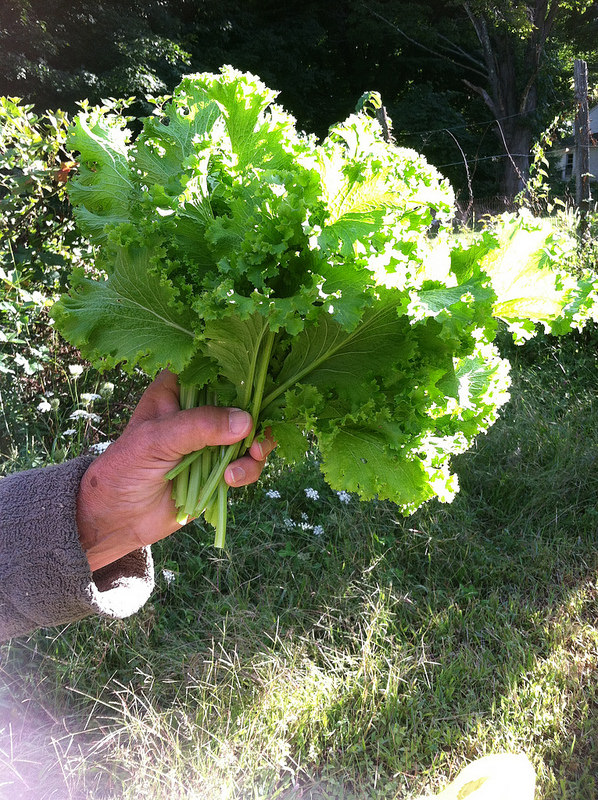
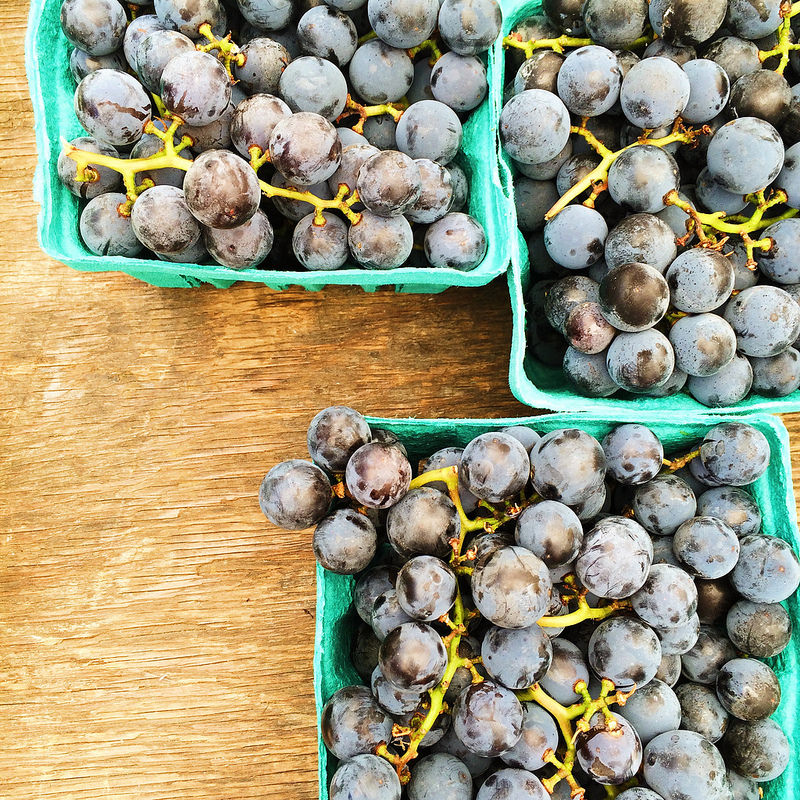
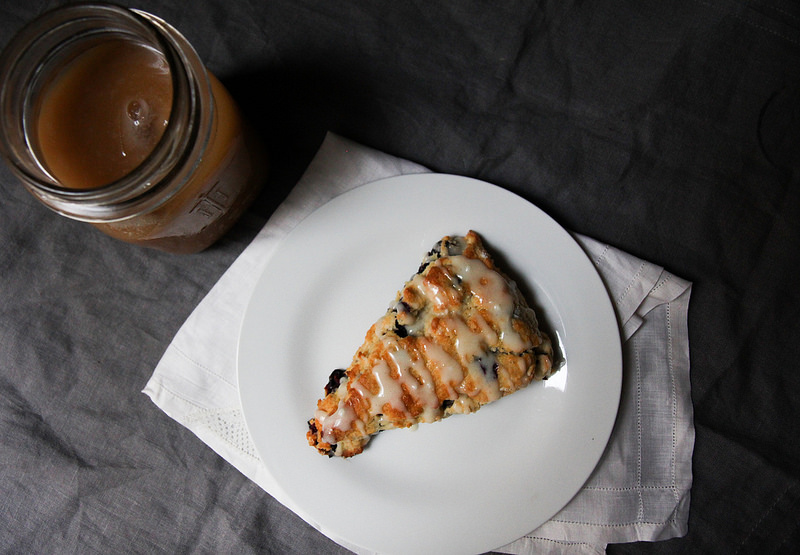
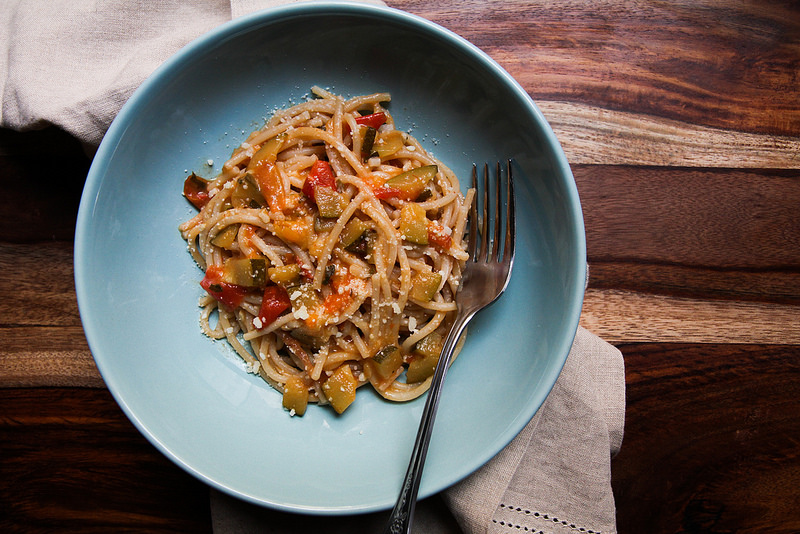
Now that wedding season is officially over for me, we can get back to regularly scheduled programming here in the sizzle & sass kitchen. And in a whole brand new season, too. For as much fall hating as I did as summer was ending I seem to be transitioning quite nicely into it.

I sometimes forget how much of my cooking and let’s face it, wardrobe, is conducive to autumn weather. I’m all about the comfort of slouchy sweaters and spicy stews.

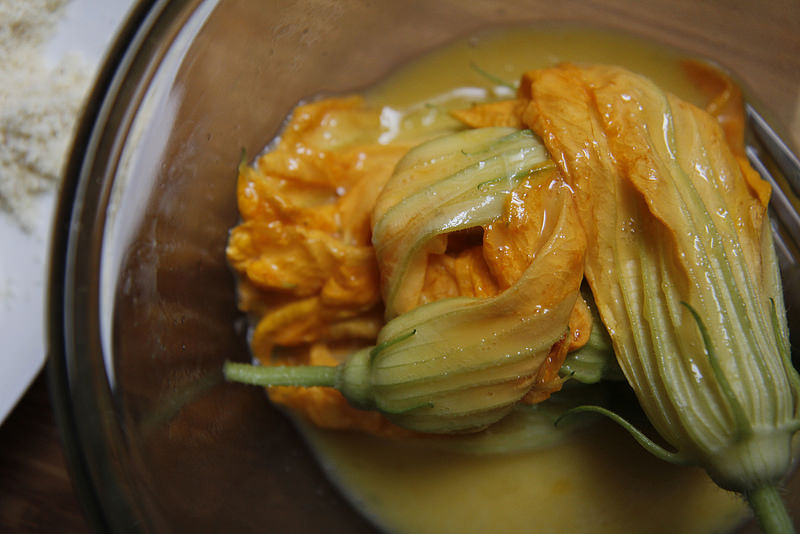
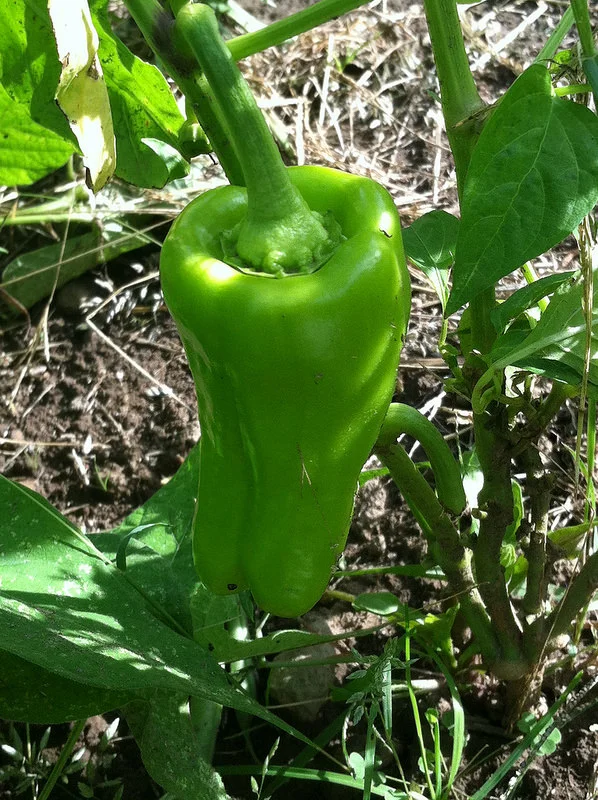
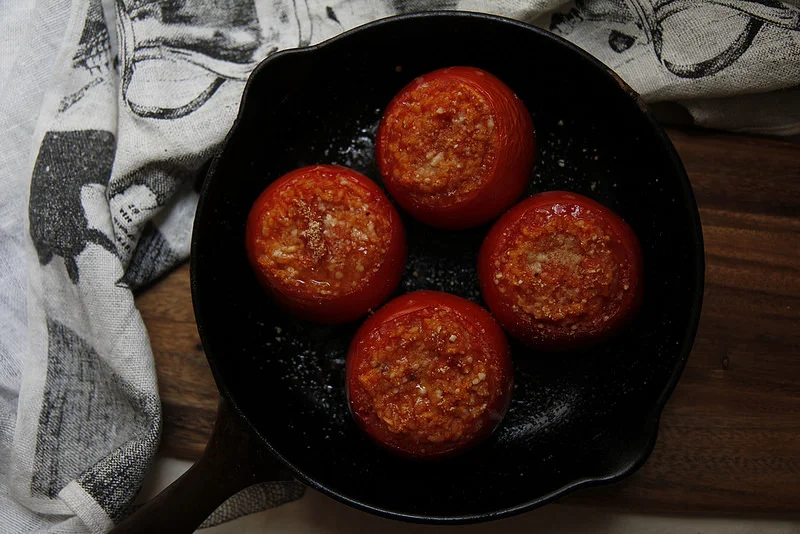
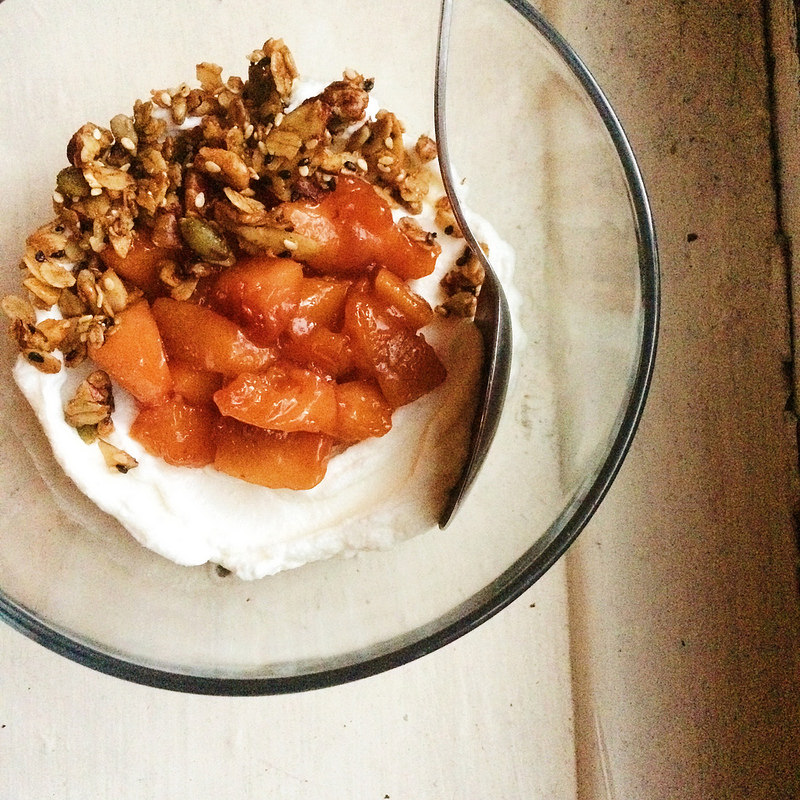
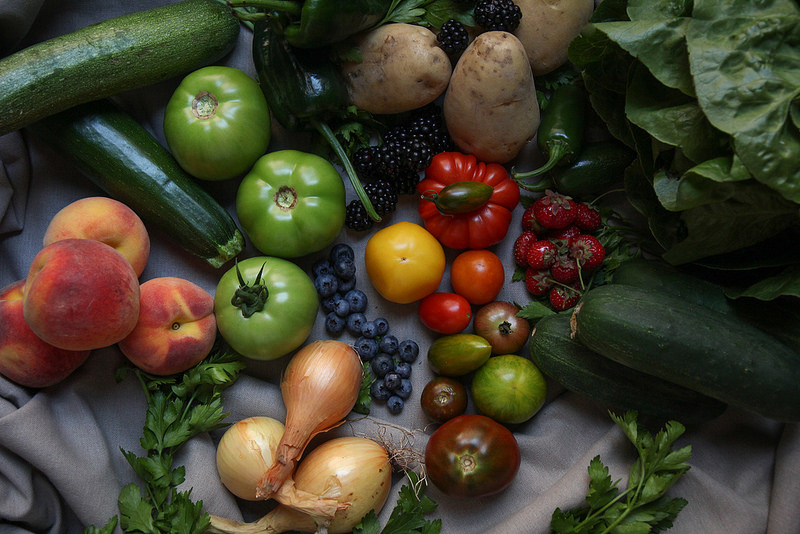
It does help that the seasons are melding into one another nice and slowly. I hadn’t imagined that tomatoes and peaches would still be gracing us with their presence all the way into October.

They’re not peak, no, but they’re still around for the roasting.

I end this post with great promises for next week as well as my first installment of Friday Links!

I know a lot of bloggers do this, but it’s always a favorite of mine. I stumble across new blogs this way, find inspiring new recipes, or learn something interesting. So I’m paying it forward! When I see something drool-worthy, eye-popping, or fascinating, I’ll compile them here!

See you next week, y’all!!


link love

someday I’d like to try this, how about you?

this kitchen is beyond , so is her blog

being 5 feet tall, I can relate

genius dressing

got lost in this rabbit hole of a blog

i don’t have a lot of cookbooks, but this inspires me to expand my collection

could there be something more distracting happening right now?

straight talk from bobby flay

i loved this, and totally believe in the powers of a “spurtle” as my mother calls them. In fact I just found an extra one at the flea market on Sunday (you can never have too many), along with some other neat vintage finds.

Fried Squash Blossoms

Now I’ve been playing with these cute little yellow flowers all summer and I finally found something I felt worth posting (though simple and unassuming it might be.)

But then I put it in my back pocket since I had assumed that going into September that it was probably too late for such summery things.

But then in a brief foray to a farmer’s market on my lunch break Wednesday, I spied with my little eye squash blossoms still sitting on a table. And so I feel it it is still appropriate as chilly as these mornings and nights might be to share this with you. If anything it may now seem comforting to stand over a hot pan of oil frying these off.

It took me a bit to figure out the proper breading technique for this delicate lacy little things. My first breading, my go-to, was too heavy for them. I tried just egg wash, just parm, just almond flour. But the key here is the tapioca starch, you could even leave out the parm if you wanted, it's for flavor more than anything. The tapioca starch here gets them nice and crispy but still keeps them light as air.

Traditional recipes also stuffed them full of other things. I will experiment with that next summer, I think. But for now I leave you with the most down to earth version, a fresh tasting bud with the nicest crunch and a sprinkling salt. Practically addicting. Especially dipped in a bit of fresh sauce.

Mangia, mangia!


Fried Squash Blossoms

Ingredients:

14-16 squash blossoms

¼ cup tapioca starch

palmful of grated parmesan ( if desired)

2 eggs

¼ cup of olive oil for frying

salt

Directions:

Mix the tapioca starch and the parmesan together on a medium sized plate.

Beat your eggs in a small to medium sized bowl. Put all your squash blossoms in that same bowl and gently toss them to cover them all in egg.

Heat the oil in a medium saute pan over medium heat.

While the oil is heating up, take a few of the egg coated blossoms and one by one dip them in the tapioca-parm mix to cover completely. Gently shake off the excess and set aside for frying.

Once the oil is hot enough (you can place the end of a wooden spoon in the oil to see if it sizzles) place a few blossoms in the pan. Don’t over crowd. Fry on each side until golden brown.

Lay to drain on a paper towel covered plate. While still hot from the pan sprinkle with a touch of salt.

Continue with the rest of blossoms.

I served these with Fresh Sauce for dipping, but they’re great just plain as well.

Show and Tell

There was a farm stand at the flea market!

There was a farm stand at the flea market!

It will be a bit quiet in this here space on the internet this week.

As mentioned a while ago, I’m not around on weekends at all this month and that is when the blog magic happens for me.

I am up to my eyeballs in vegetables due to my mother’s green thumb and my projected farm share list is abundant to say the least! I also managed to find local peaches, apples, and maple syrup at the flea market this weekend. So I might try and experiment shooting at night with the god-awful fluorescent kitchen light. Wish me luck! If it works out and Lightroom can save me, perhaps a recipe or two will make an appearance!

As you can see, my mother sent me back to the city with lots of eggplant, peppers, and tomatoes. I foresee another Chicken Enchilada Casserole happening this week. It freezes and reheats really well, p.s.

An instagram follower asked me what I would be doing with those pretty golden tomatoes I got in last’s CSA. I have yet to figure that out, but I better soon, cause those babies are starting to wither! I also have peaches to test pickle, and my farm share newsletter just gave me sneaky thoughts about chicken cacciatore. Let's see what I got up my sleeve this week.

local apples, peaches, maple syrup and other flea market vintage finds!

local apples, peaches, maple syrup and other flea market vintage finds!

Talk soon <3

Chicken Enchilada Casserole

This casserole was the win of my weekend.

I had a blog-cooking-extravaganza a couple weekends ago in preparation for my time away. So after a lot of cooking and several recipe test fails, I was at my wit's end and about to call it quits. This was one of my final tests, and I had no clue if it was gonna work out and if it hadn’t, I’m not sure I would of handled it well. Even before that, this was a re-route from an original plan because as mentioned on Monday, cauliflower was no where to be found.

I mean seriously, at one point there was glass and coffeecake all over my kitchen floor.

I am now loaf pan-less and you are now coffeecake-less.

But. YES. YES. YES. This casserole worked. And it completely made up for those few fails that occurred.

That stain is never gonna come out.

That stain is never gonna come out.

I think that removing the eggplant skin is key and having a mandoline definitely makes things easier. I was able to get super thin slices of eggplant that truly resembled tortilla-like layers. The directions of course look excessive, but I promise it took me no longer than the thirty minutes it takes for the eggplants to sweat to get the other two components together, and assembling shouldn’t take more than five.


Chicken Enchilada Casserole

Ingredients:

Casserole

1 large eggplant, skin removed and sliced thinly lengthwise (my mandoline made quick work of this --- the aim is to make these work like tortillas or lasagna sheets would), total of 12 big slices (you may have a few extra smaller slices, roast those babies up, if you please!)

salt (for sweating the eggplant)

Chicken filling (ingredient list below)

Enchilada Sauce (ingredient list below)

2 cups of shredded cheddar cheese

Chicken filling

splash of olive oil

1 small onion, diced

1 small tomato, roughly chopped

1 sweet pepper, diced

1 jalapeno, minced

2 chicken breasts, cooked and shredded

½ teaspoon garlic powder

½ teaspoon cayenne

1 teaspoon cumin

1 teaspoon paprika

salt and pepper to taste

Enchilada Sauce

splash of olive oil

1 small onion, diced

1 garlic clove, minced

4 medium tomatoes, roughly chopped, approximately 2 cups

2 tablespoons chili powder

1 teaspoon paprika

¼ teaspoon oregano

¼ teaspoon cumin

¼ cup shredded cheddar cheese

salt and pepper to taste

Directions:

First things first, get your eggplant slices sweating by laying them on a flat surface and sprinkling them with a bit of salt and letting them rest for approximately 30 minutes.

While the eggplants sweat, get the olive oil heating in medium pan over medium heat. Add the onions, tomato, pepper, and jalapeno to the pan. Cook until onions and peppers are soft and tomato is wrinkly. Add the chicken to the pan and stir to combine the ingredients. Add in the spices and stir in to incorporate. Season with salt and pepper to taste. Remove from heat.

For the enchilada sauce, get a splash of olive oil heating in a small sauce pan over a medium heat. Add in the onion, garlic, and tomatoes and cook until the onion is soft and translucent and the tomatoes are starting to break down. Add the chili powder, paprika, oregano, and cumin. Stir in spices well. Continue to cook until the tomatoes have broken down completely and it’s starting to resemble a sauce, approximately another 10 minutes. Stir in the cheddar cheese. Once the cheese has completely melted into the sauce, taste for seasoning and then remove from heat. Optional move: once it's cooled a little, blitz the sauce with a hand blender or regular blender for a super smooth sauce.

If you’re a real awesome pro, you can attempt to do the filling and sauce at the same time.

Heat oven to 350 degrees.

Using an 8x8 inch square baking dish, prepare to assemble the casserole.

With a paper towel, dab off the “sweat” from the eggplant slices.

Spread about a tablespoon or so of the enchilada sauce on the bottom of the baking dish. Next add the first layer of 3 eggplant slices, they can overlap slightly. Take about ⅓ of the chicken filling and spread it on top of the eggplant, then spoon on about ¼ of the enchilada sauce and lastly sprinkle on some of the cheese. Layer on 3 more eggplant, then start again with the chicken, the sauce and the cheese. You’ll do this for a third time, and then top with the last layer of eggplant, use the last of the sauce on top of the eggplant and sprinkle on the remaining cheese and then place in oven for about 40 minutes until the cheese is golden and bubbly and the eggplant is tender.

Serves 4 to 6

Pickled Carrots

Remember how I said everything should be pickled? Well, everything should be pickled.

And thanks to Food52 ---- who teach me the right way to do lots of things, I pickled some carrots. Some very purdy purple carrots from my CSA.

I have this strong urge a lot of the time to resist in consuming certain things because of how beautiful or shortlasting they are. Which I realize, is downright crazy and counterproductive. But sometimes, I still figure out ways to prolong their demise. Like pickling them or baking them into something.

Now pickling carrots isn’t so much of a novel idea, although it’s relatively new to me. Before this summer, I didn’t really realize you could pickle more than...pickles. (What a wretched life I led before coming into the good graces of vinegar.)

Obvs, I discovered things like Pickled Red Onions. But then on an outing to a fancy restaurant in SoHo, in lieu of the usual bread basket, the waiter passed around complimentary red grapes and pickled carrots. Everyone was thoroughly pleased with the combination and it was interesting and different to boot, even among the foodiest of foodies.

((To briefly veer off course a bit, can I tell you about the complimentary bacon grease popcorn I ate this weekend? Um, what? Yes. Exactly. It’s everything you’re thinking right now. This was at the same restaurant of Pickled Peach fame. Pickled peaches, yet another revelation.))

Okay so getting back to business. These carrots were so gorgeous, at first I wasn’t sure what to do with them. Eating them raw seemed just too boring but roasting or cooking them seemed too harsh an out.

However, preserving them in a fabulous magenta pickling liquid to last at least another couple weeks seemed perfectly appropriate.


Pickled Carrots

as guided by this Food52 article

1 pound carrots, trimmed of their tops, scrubbed, and halved

2 cups white wine vinegar

⅔ cup water

⅓ cup honey

2 ½ tablespoons salt

1 tablespoon peppercorns

Place the halved carrots in a large glass mixing bowl.

In a small saucepan bring the vinegar, water, honey, salt and peppercorns to a boil. Once boiling remove from heat and pour the hot pickling liquid over the carrots. To keep carrots submerged in the brine, place a plate on top of them.

Let carrots and brine sit and cool completely.

Once cool, place carrots and brine in a sealed container. 

Will last 3 weeks to a month in the refrigerator.

Makes about 1 quart

Zesty Zucchini Soup

It’s safe to assume we all still have squash in our crispers, yes?

And was it yesterday morning, that I sorta, kinda, a little bit, wished I had grabbed a cardigan before leaving the apartment?

OH NO IT’S STARTING!!! Don’t.freak.out.

The drastic change between Saturday’s sweat show and Monday morning’s “where’s my sweater?” weather begs to have a summery twist on a comforting, warm bowl of soup.

I’ve actually been waiting and waiting to share this. I had made this during that time when squash was threatening to overtake my refrigerator. But every week seemed just too early to be like “eat boiling hot liquid for lunch or dinner, whydontcha!”

But it’s time has come. I keep telling myself to be excited for soup and stews and chili.

Here’s how I’ll start.


Zesty Zucchini Soup

Ingredients:

1 tablespoon of grass fed butter, or other fat

1 small onion, diced

1 jalapeno, minced

1 clove garlic, minced

2 small-medium green zucchini, sliced into thin rounds

1 small yellow zucchini or yellow squash, sliced into thin rounds

32 oz. (4 cups) chicken broth

½ teaspoon of cumin

1 teaspoon of paprika

cayenne to taste

salt and pepper to taste

¼ cup grass fed heavy cream

Directions:

Get the butter melting in a large pot over a medium heat. Once melted saute onions, jalapeno, and garlic in pan until onions are soft, translucent, and a bit caramelized. About 5 minutes.

Add the squash to the pot and cook until just starting to get tender, another 5 to 10 minutes. (They’ll continue to cook in the broth and get soft.)

Add broth to the pot as well as cumin, paprika, cayenne, salt and pepper. Bring to a boil and then lower to a simmer.

Simmer soup until the squash is soft and tender, approximately another 10 to 15 minutes.

Turn off heat and slowly stir in the heavy cream.

Yield: approximately 2 quarts

Stuffed Tomatoes & some facts of life

I mean I feel like I should be tired of tomatoes by now.

But I’m not.

So I made these stuffed tomatoes, as inspired by smitten kitchen.

I had big plans to make these using cauliflower as rice.

What I didn’t plan on was the fact that we have not yet entered cauliflower season. I’m new at this whole seasonal eating thing. I’m still crossing my fingers that cauliflower and tomatoes might overlap? I don’t know if they do…..So I did these as written with rice, because I don’t have so many strong feelings towards white rice being evil. Once in a blue, seems cool to me.

hollowedouttom.jpg

And then not only did I do them using rice, I didn’t change a thing about the recipe. At all. It’s perfection. (Lies, I did use grated parmesan instead of breadcrumbs on top, but that's all I did differently! Oh and I knocked the serving size down to 4 and adjusted accordingly.)

You can find the recipe here, if you’re inclined to make these. I hope my pictures are tempting enough for you to click over there and get on them immediately! 

I leave you with these facts from my weekend away:

1.) Burrata is a way of life.

2.) I almost always go for the burger. Two out of three meals this weekend were burgers. One was for breakfast. #sorrynotsorry

3.) Everything can and should be pickled, especially peaches. Must figure out how to do this STAT.

4.) Balsamic Reductions go a long way to make all things delicious.

5.) Three out of the four things listed above had to do with ONE starter I ate this weekend. Obvs, it rocked my world. 

Recreation is on my to-do.

Pulled Pork with Chipotle Barbecue Sauce

First things first, I need to get this off my chest ---- it’s really hard to make a pile of meat look photogenic.

There. I said it.

Moving on.

A big beautiful brioche bun, toasted, might have made this a little more fantastic looking, but we don’t do buns too often here in the sizzle & sass kitchen. A side of slaw though, I believe is, requisite. Spicy Slaw would have been great here, but I was unfortunately jalapeno-less. (It went into something awesome destined for the internets sometime next week.)

But let’s talk about the here and now. Pulled Pork and Chipotle Barbecue Sauce.

Normally I would have done this with a pork shoulder. But my mother had given me half of a 9 pound pork loin she’d bought. I needed to use it ASAP, since I’d been keeping it in the freezer at work, but then it got kicked out. And because, as previously mentioned, I’ve been desperately filling my freezer with summery goodies getting ready for my winter hibernation, I had ZERO space left for 5 pounds of pig.

So pulled pork it was! Even at the end of August when summer definitely decided to make a comeback and pulled pork meant that my oven had to be on for like five straight hours. Despite the heat it produced, it was worth it. Pulled pork is always worth it.

The barbecue sauce was one of those things where I surprised even myself. I went completely off track with it, and didn’t bank on it turning out necessarily well. Probably well enough for me and the partner in crime to eat, but not necessarily good enough to post about.

Well, if that wasn’t further from the truth. So, there are a lack of pictures of the sauce undertaking but who cares, make this sauce. I adapted it like crazy from my lovely, amazing, and best chef friend who’s blog you can read here and recipe you can find here.

I wanted to get it as clean and paleo-esque as possible. So I switched out the ketchup and the brown sugar, and ditched a few other things and adapted to what I had available, hence the chicken stock substitution. But Sean’s original recipe was a great starting point, including the fact that it has coffee in it which ties into the pulled pork recipe as well as ties into my life as a complete and total coffee addict.

For that super simple slaw pictured, I just slivered up some red and green cabbage, red onion and some bell pepper and tossed it in the dressing that I used for my Slightly Spicy Slaw.


Pulled Pork

Ingredients:

5 pound pork loin or shoulder or butt

2 tablespoons salt

¼ teaspoon ground black pepper

1 tablespoon cumin

1 tablespoon paprika

1 tablespoon garlic powder

1 tablespoon cayenne

1 teaspoon oregano

1 tablespoon olive oil

3 tablespoons maple syrup

1 teaspoon apple cider vinegar

3 to 4 smashed garlic cloves

1 cup freshly brewed black coffee (or other liquid -- I’ve done this with beer, water, orange juice -- sugary stuff burns off though and quickly, if using, make sure to keep basting and adding liquid when it cooks off)

Directions:

Heat oven to 350 degrees

Prep your meat as needed, remove the skin if there is any on it and then place it fat side down in your baking dish. I used my 5.5 quart dutch oven and it worked beautifully in keeping the meat covered when needed and moist. Set aside meat and prepare the spice rub.

In a small bowl, mix salt, pepper, cumin, paprika, garlic powder, cayenne, oregano, olive oil, maple syrup, and vinegar well until fully incorporated. Rub this all over the pork, getting into all the nooks and crannies.

Throw the smashed garlic into the bottom of the pan and then pour in the coffee.

Put into the oven covered, basting occasionally for at least four hours or until a fork easily pierces the meat and looks shreddable. About 2 and half hours in you can remove the cover so that the pork will develop a nice crust. Allow the pork to rest approximately 20 minutes before shredding. I also recommend straining out the braising liquid and reserving to pour over the shredded meat.

You can toss with Chipotle Barbecue Sauce (recipe follows) or any barbecue sauce, but it has more than enough flavor to be eaten on its own..

Yield: approximately 2 quarts of meat

Chipotle Barbecue Sauce

adapted from this recipe over at Home Grown Meals

Ingredients:

splash of olive oil

1 small onion, minced

4 cloves garlic, minced

2 chipotle peppers (from a can), minced

1 tablespoon of the chipotle sauce that’s in the can with the peppers

1 ½ cups chicken stock

½ can of tomato paste

1 cup freshly brewed black coffee

1 cup apple cider vinegar

1 cup maple syrup

2 tablespoons mustard

1 tablespoon oregano

1 tablespoon paprika

Directions:

The barbecue sauce takes about one hour to be ready so you can do ahead of time or to have ready with pork start about halfway through it’s total cooking time.

Get the olive oil heating in a medium sized saute pan over a medium heat and then throw in the minced onion. Cook until soft, translucent, and a touch caramelized. I like using a saute pan for this because it has more surface area and it takes less time to reduce down to a thick sauce.

While the onion cooks down, in a bowl whisk together the coffee, vinegar, syrup, mustard, oregano and paprika. Set aside.

Add the garlic and chipotles to the pan with the onions. Stir in until fragrant and then add the chicken stock, tomato paste and stir to incorporate. Let this mixture cook until it’s thickened slightly, 3 to 5 minutes.

Add the coffee-vinegar mix to the pan and stir to combine. Let the sauce come to a boil then turn down heat to a simmer, stirring occasionally. Sauce will take about 30 to 45 minutes to reduce down and come to desired consistency.

Optional move here at the end: I blitzed mine with a hand blender so it would be super smooth. You can do this, or let it cool a bit and do it with a regular blender. It's also not that chunky at all depending on how small you cut your onions and garlic. Choice is yours, my friends.

Yield: approximately 2 cups