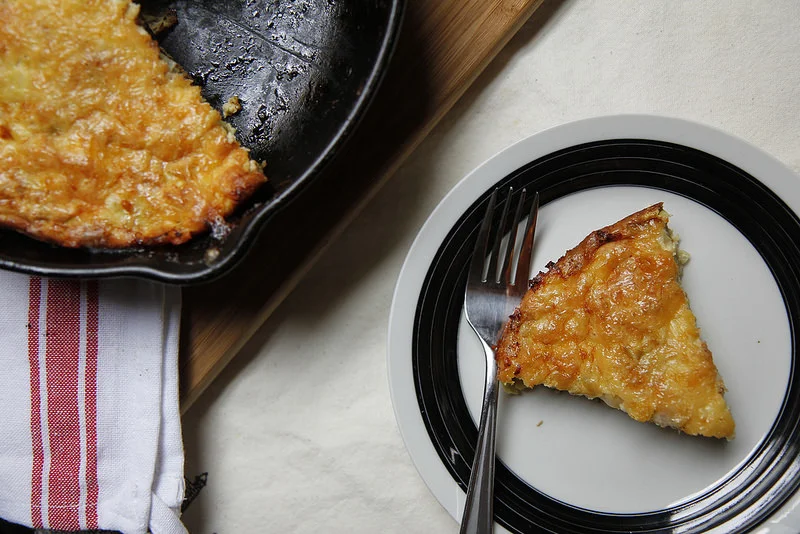
Chicken Enchilada Casserole
/
This casserole was the win of my weekend.
I had a blog-cooking-extravaganza a couple weekends ago in preparation for my time away. So after a lot of cooking and several recipe test fails, I was at my wit's end and about to call it quits. This was one of my final tests, and I had no clue if it was gonna work out and if it hadn’t, I’m not sure I would of handled it well. Even before that, this was a re-route from an original plan because as mentioned on Monday, cauliflower was no where to be found.


I mean seriously, at one point there was glass and coffeecake all over my kitchen floor.
I am now loaf pan-less and you are now coffeecake-less.
But. YES. YES. YES. This casserole worked. And it completely made up for those few fails that occurred.


That stain is never gonna come out.
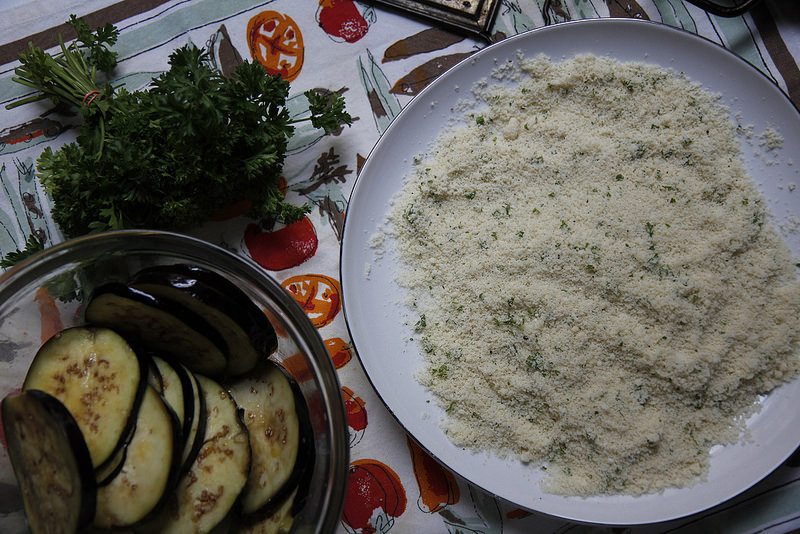
I think that removing the eggplant skin is key and having a mandoline definitely makes things easier. I was able to get super thin slices of eggplant that truly resembled tortilla-like layers. The directions of course look excessive, but I promise it took me no longer than the thirty minutes it takes for the eggplants to sweat to get the other two components together, and assembling shouldn’t take more than five.

Chicken Enchilada Casserole
Ingredients:
Casserole
1 large eggplant, skin removed and sliced thinly lengthwise (my mandoline made quick work of this --- the aim is to make these work like tortillas or lasagna sheets would), total of 12 big slices (you may have a few extra smaller slices, roast those babies up, if you please!)
salt (for sweating the eggplant)
Chicken filling (ingredient list below)
Enchilada Sauce (ingredient list below)
2 cups of shredded cheddar cheese
Chicken filling
splash of olive oil
1 small onion, diced
1 small tomato, roughly chopped
1 sweet pepper, diced
1 jalapeno, minced
2 chicken breasts, cooked and shredded
½ teaspoon garlic powder
½ teaspoon cayenne
1 teaspoon cumin
1 teaspoon paprika
salt and pepper to taste
Enchilada Sauce
splash of olive oil
1 small onion, diced
1 garlic clove, minced
4 medium tomatoes, roughly chopped, approximately 2 cups
2 tablespoons chili powder
1 teaspoon paprika
¼ teaspoon oregano
¼ teaspoon cumin
¼ cup shredded cheddar cheese
salt and pepper to taste
Directions:
First things first, get your eggplant slices sweating by laying them on a flat surface and sprinkling them with a bit of salt and letting them rest for approximately 30 minutes.
While the eggplants sweat, get the olive oil heating in medium pan over medium heat. Add the onions, tomato, pepper, and jalapeno to the pan. Cook until onions and peppers are soft and tomato is wrinkly. Add the chicken to the pan and stir to combine the ingredients. Add in the spices and stir in to incorporate. Season with salt and pepper to taste. Remove from heat.
For the enchilada sauce, get a splash of olive oil heating in a small sauce pan over a medium heat. Add in the onion, garlic, and tomatoes and cook until the onion is soft and translucent and the tomatoes are starting to break down. Add the chili powder, paprika, oregano, and cumin. Stir in spices well. Continue to cook until the tomatoes have broken down completely and it’s starting to resemble a sauce, approximately another 10 minutes. Stir in the cheddar cheese. Once the cheese has completely melted into the sauce, taste for seasoning and then remove from heat. Optional move: once it's cooled a little, blitz the sauce with a hand blender or regular blender for a super smooth sauce.
If you’re a real awesome pro, you can attempt to do the filling and sauce at the same time.
Heat oven to 350 degrees.
Using an 8x8 inch square baking dish, prepare to assemble the casserole.
With a paper towel, dab off the “sweat” from the eggplant slices.
Spread about a tablespoon or so of the enchilada sauce on the bottom of the baking dish. Next add the first layer of 3 eggplant slices, they can overlap slightly. Take about ⅓ of the chicken filling and spread it on top of the eggplant, then spoon on about ¼ of the enchilada sauce and lastly sprinkle on some of the cheese. Layer on 3 more eggplant, then start again with the chicken, the sauce and the cheese. You’ll do this for a third time, and then top with the last layer of eggplant, use the last of the sauce on top of the eggplant and sprinkle on the remaining cheese and then place in oven for about 40 minutes until the cheese is golden and bubbly and the eggplant is tender.
Serves 4 to 6